Example for quick start
Note: The estimated time required to complete this procedure is 30 minutes.
A construction team is building a house.
The client requests a quote for adding a kitchen to the patio area.
For this example, the app will enable the team to track the quote.
The project manager wants to create a:
- Project.
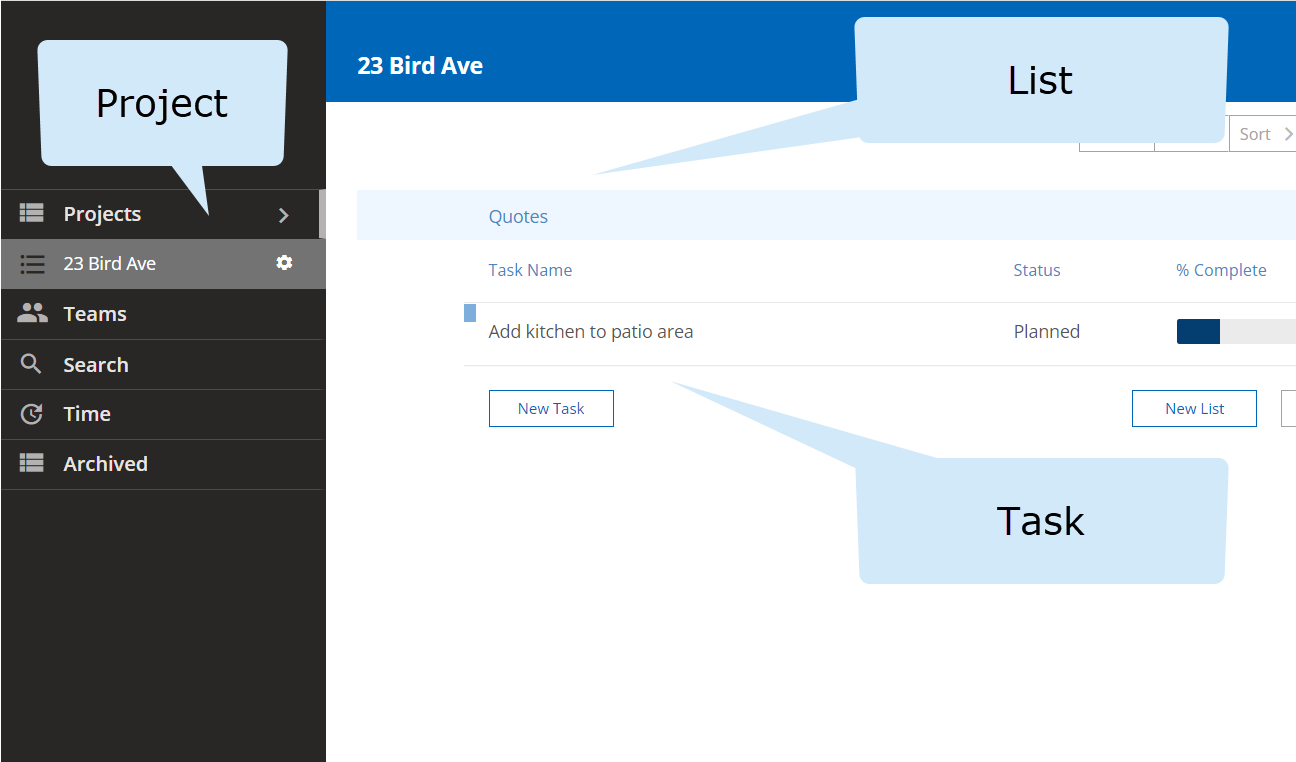
- List to contain the quote.
- Task to describe the quote.
(Step 1) - Create a project
To open the demo app, click this link:
-
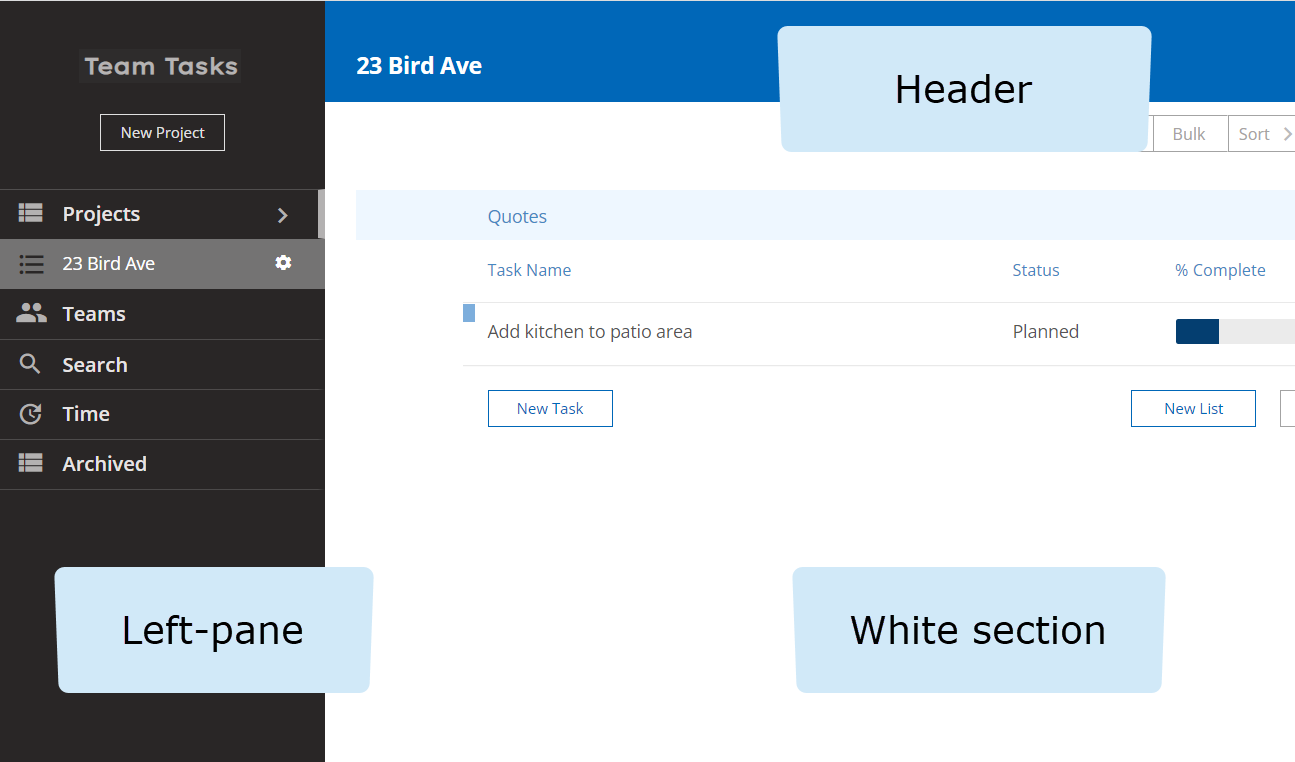
Near the top of the left-pane, click the "New Project" button.
The "Add project" window will appear.
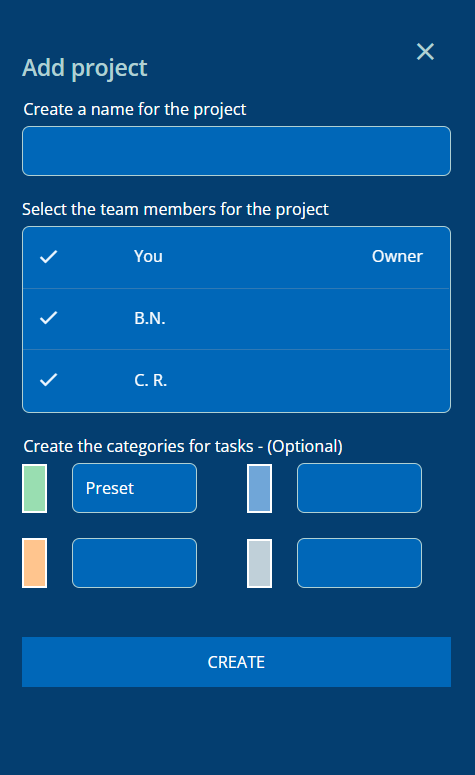
- In the first field, create a name for the project. For this example: "23 Bird Ave".
-
Click the "CREATE" button.
You will see the project name appear in the:
- Header.
- Left-pane.
(Step 2) - Create a list
-
In the top-right corner of the page's white section, click the "New List"
button.
The "Add list" window will appear.
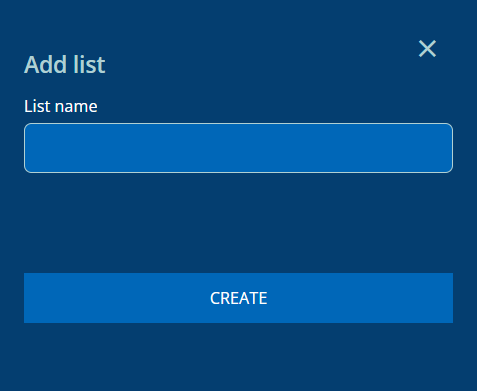
- For this example, type the word "Quotes" in the "List name" field.
-
Click the "CREATE" button.
You will see the list appear in the page's white section.
(Step 3) - Create a task
-
Under the list's name, click the "New Task" button.
The "Add task" window will appear.
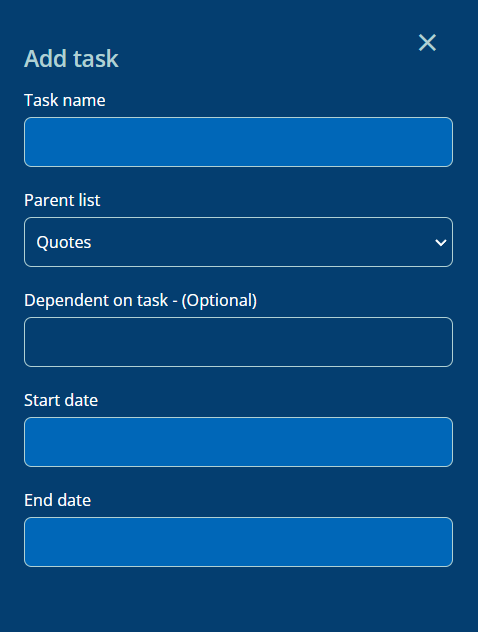
- In the "Task name" field, write the name for the quote. For this example: "Add kitchen to patio area".
- For this article, skip the next 2 headings.
- Under the "Start date" heading, click to select today's date.
- Under the "End date" heading, click to select tomorrow's date.
-
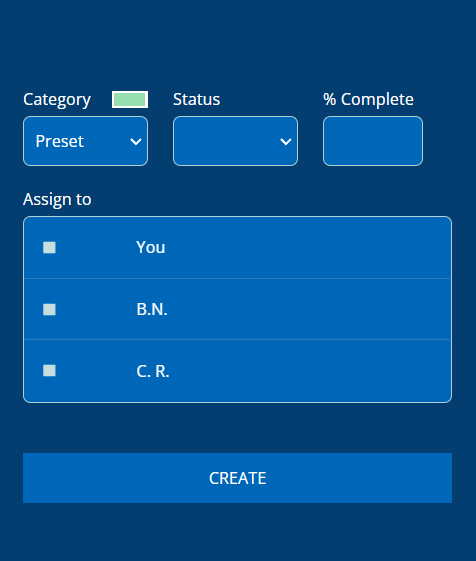
For this article, skip the "Category" heading, because "Preset"
is the only available category.
-
Under the "Status" heading, you will see the 3 options describing
the completion status of the work.
Since the work hasn't started yet, click to select "Planned".
-
Under the "% Complete" heading, you will see the field enabled
for numbers from 0-100.
For this example, type-in the number: "34".
Note: After you save the task, you will see the percentage displayed in the task's progress bar.
-
On the list of team members, click the
square on the row for each
team member who will be involved in this task.
Note: The team members you select here will each see their name when viewing the task's row in the list.
-
Click the "CREATE" button.
You will see the task's row appear in the list.